

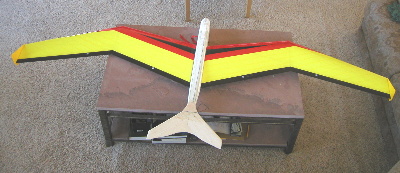
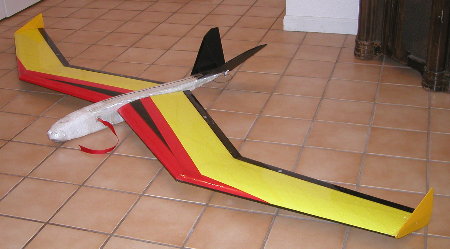
OBJECTIVE: A bird like shape with a "high tech" spin.
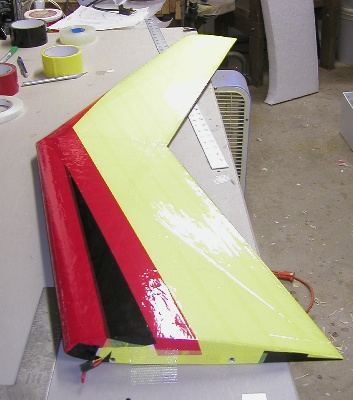
COMMENTS: Here is another FOAMIE prototype I'm working on. It is a shape I have been thinking about for some time now. I have admired the general shape of Hawks, Petrels, Falcons etc. and I thought it might be fun to emulate that shape. The more complete it gets the more I think it looks like a Frigate, what do you think? BUT... will it fly and if so, what will the performance and flight characteristics be like? I am after more of a floater/thermal ship and the airfoil is pretty thick so I don't see it as being a speed machine. It should be interesting to see it fly though!
This is completely from scratch (the design... I modified some wing cores I already had) and so it may be slow going as I figure out the best "backyard" engineering as I can...
Click on the thumbnails to ENLARGE.
|
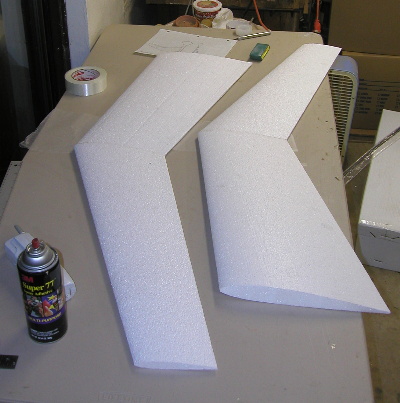
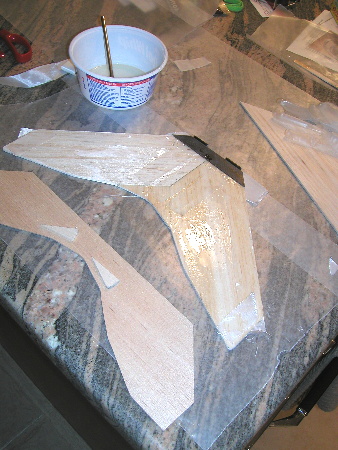
After modifying the wing panels for the different root angels the first step was to glue them together. | |
I made the main spar hollow 2 piece so I could make them "plug in" types for any future fuselages. | |
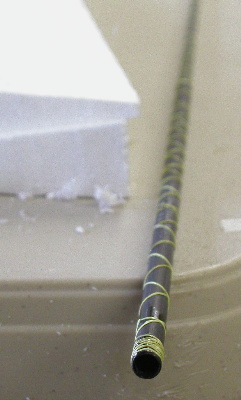
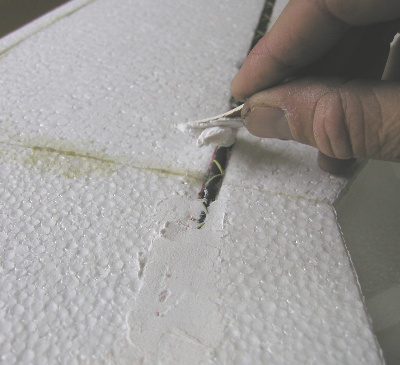
After determining the spar length I wrapped them in kevlar thread to resist side splitting with minimal weight penalty. |
|
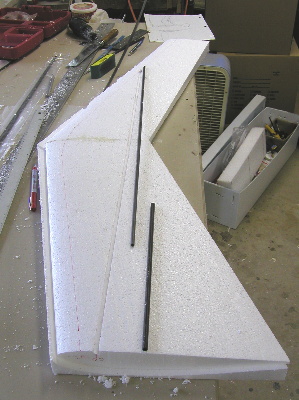
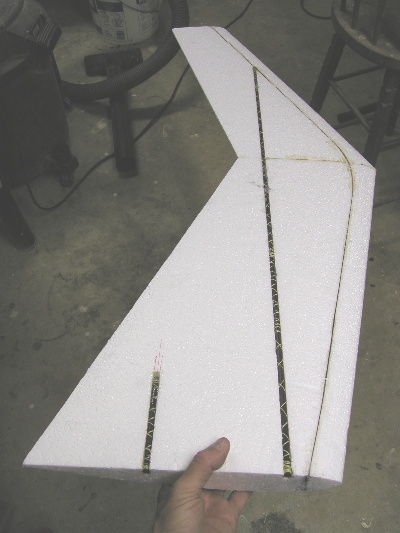
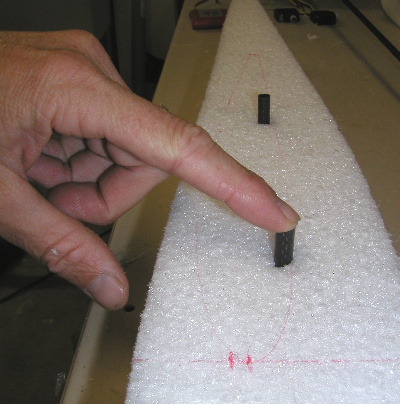
Here is the incidence pin layout. I went overboard and used the same size as the main spar for simplicity. | |
Had to make sure both rods were parallel! | |
I also added a flat 3.8" CF "spar" 1.25" behind the leading edge and extended it to the tip for rigidity. |
|
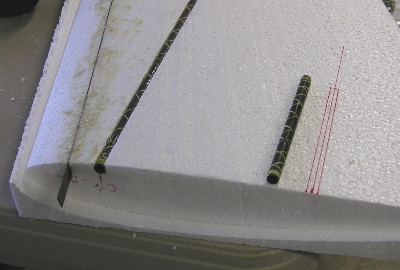
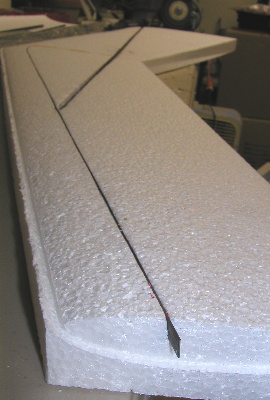
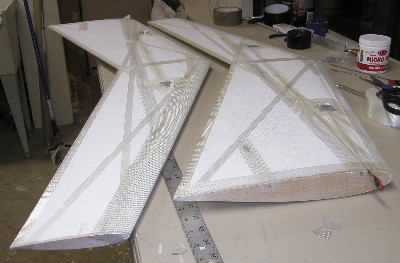
Here is the finished spar system. Lightweight and fairly strong. This will be a light weight ship so I kept things minimal. | |
After the epoxy cured I filled the spar grooves. | |
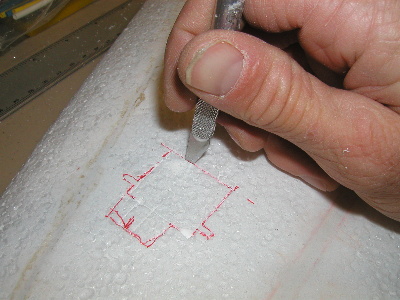
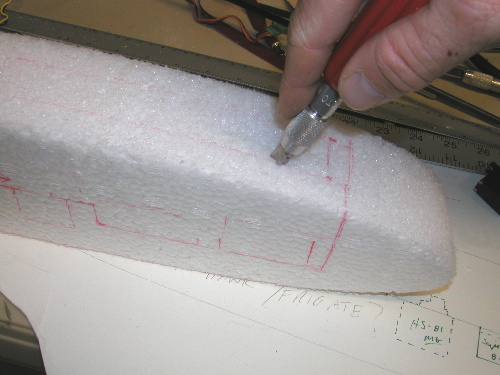
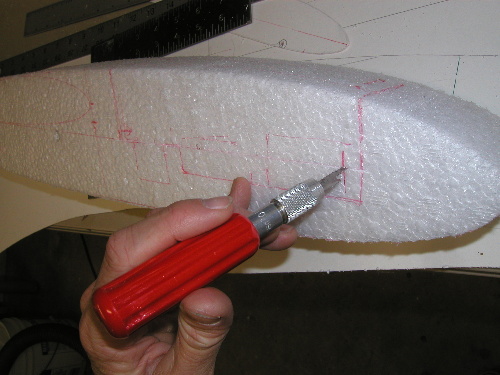
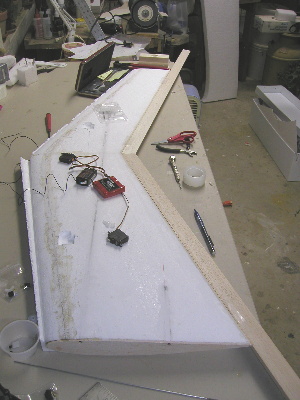
After I've decided where the servos will go I cut out the parameter with a sharp x-acto. |
|
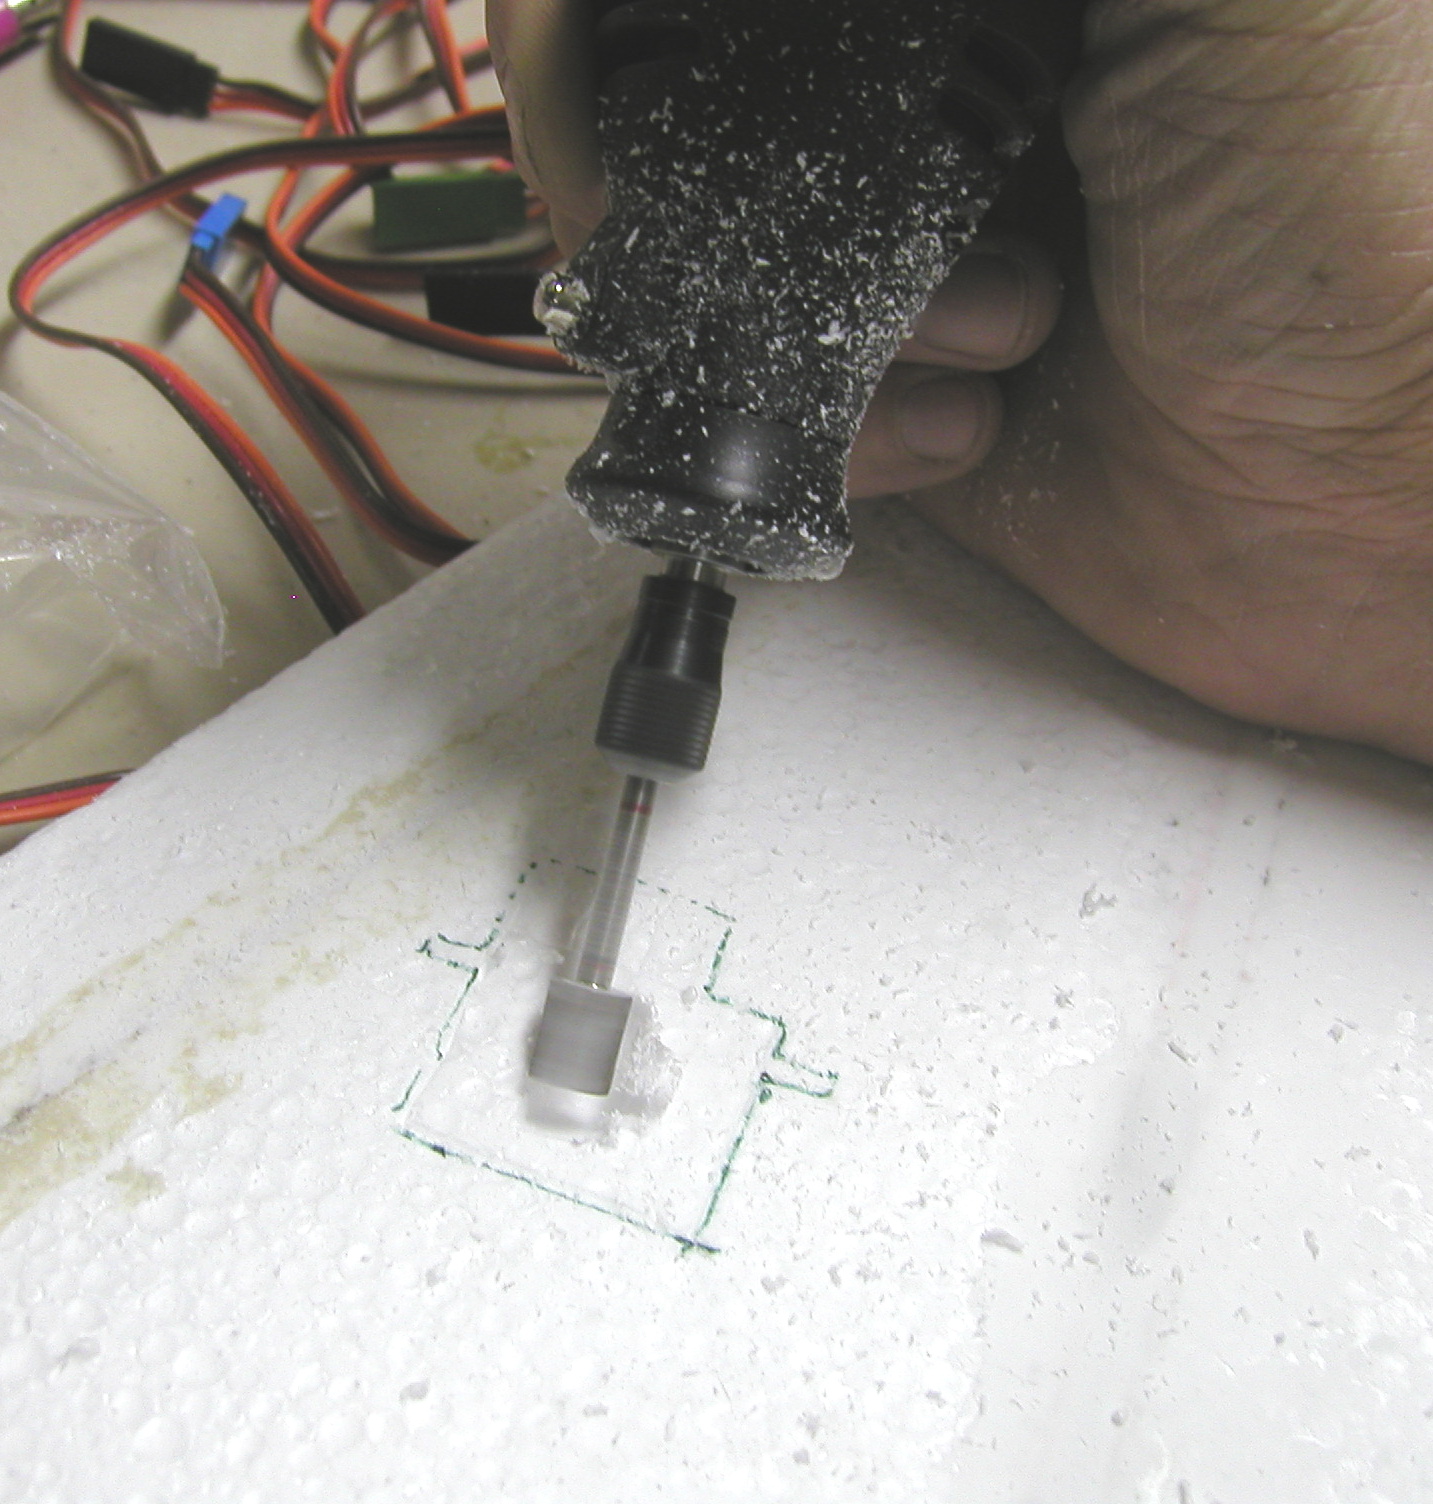
I use my dremel and the bit shown to make nice cut-outs for my servo bays. | |
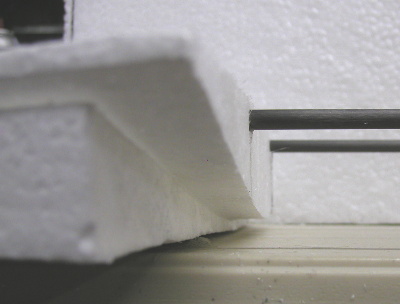
There's a nice tight flush fit. | |
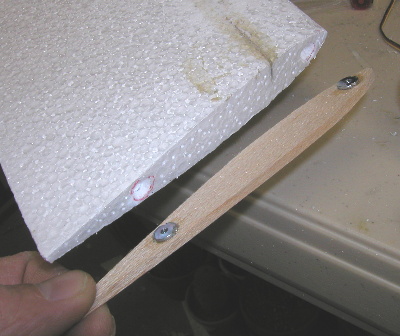
This setup with internal blind nuts makes for EZ and secure attachment of the winglets. |
|
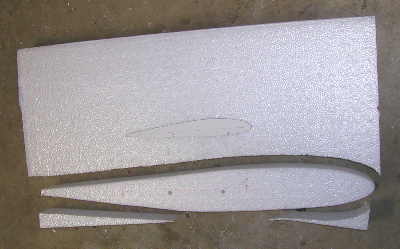
I just layed out a nice aero tear drop fuse' shape. I'm without hot wire at present, so it was the ol' hack saw blade trick... | |
I inserted and glued in some CF tubes in the fuse to plug the wings into. | |
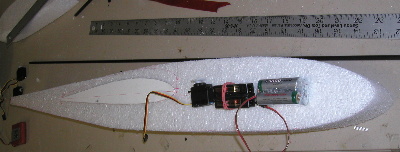
I layed out the radio eqt. and servo to mark out the area in the nose to cut out. |
|
After I determine what I want cut, I do the top cut first. | |
Next I make one cut across the bottom. This allows the "plug" to be popped out. | |
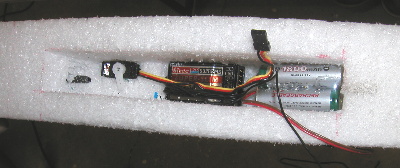
Here is the plug popped out. The area for the battery and Tx will be routed out to make a perfect snug fit. |
|
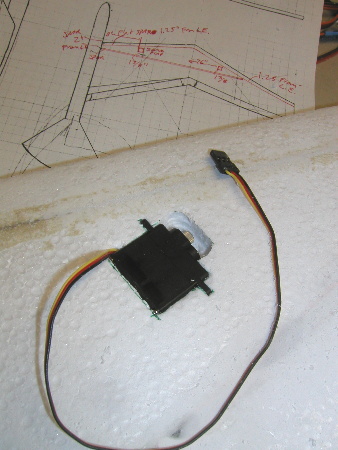
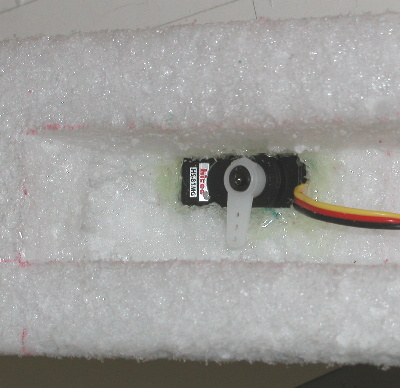
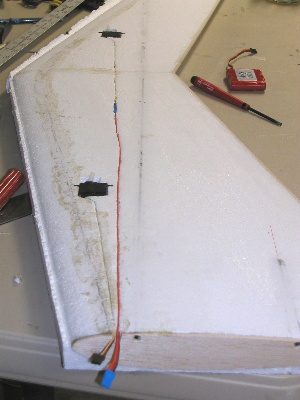
I used the dremel to route out spots for the battery, Rx and elevator servo. | |
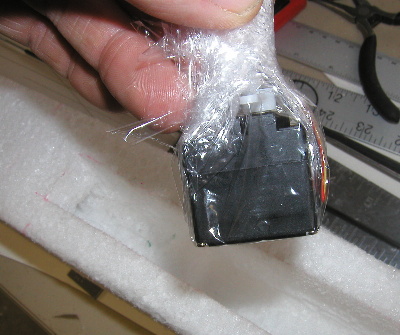
Here's how to "pot" a servo: 1) Wrap the servo in cellophane. | |
2) Pour epoxy into the servo cavity and jam the wrapped servo in place. |
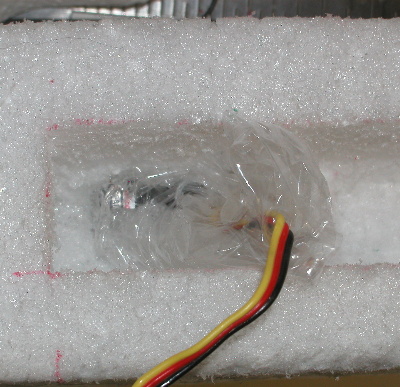
|
After the epoxy sets, cut away the excess cellophane and epoxy. There you are... a servo that will stay put, yet can be removed when needed! | |
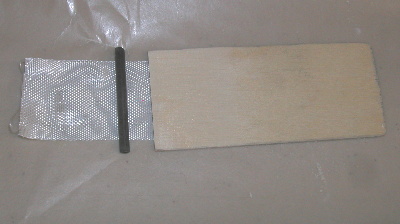
I'm getting ready to make a hinge plate for the tail. I'm using a CF tube to be wrapped in fiber lass. | |
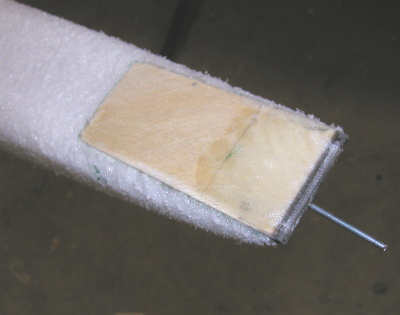
Here is the hinge plate installed onto the back end of the fuse'. |
|
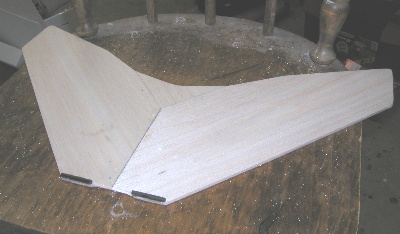
I opted for a bird like hinged flat tail for elevator only, here is the first layer. I may try a V tail later... | |
Here I am laminating CF and glass between two layers of balsa in a unidirectional arrangement for stiffness. | |
Here is the finished tail... its BIG and I probably will only have to make it move a LITTLE for elevator control! |
|
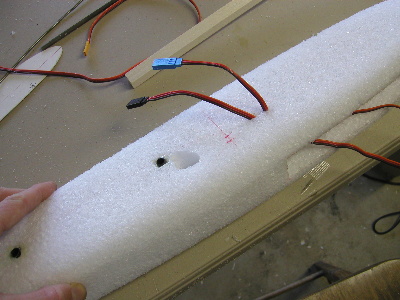
Backing up a bit, I made a cavity in the fuse for the servo wire plugs and routed the servo wires. | |
To install the servo wires in the wing, just cut a slot and imbed the wire, tape over it when you are done. | |
Setting up to cut the ailerons and flaps to length. |
|
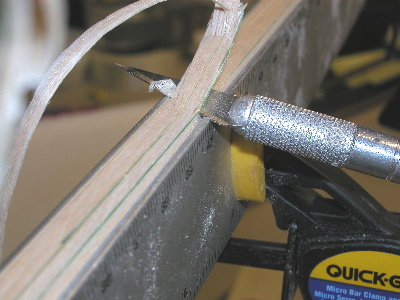
To trim a bevel I clamp two metal straight edges together, one lower than the other and it makes a perfect cut! | |
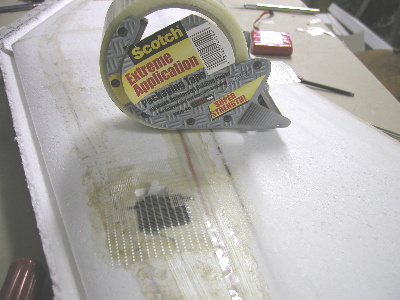
I then tape over the servos (I use this heavy duty bi-directional strapping tape, works GREAT). | |
For the leading and trailing edges I use the bi-dir'l tape, for the rest I use 1/2" or 3/4" strapping tape, |
|
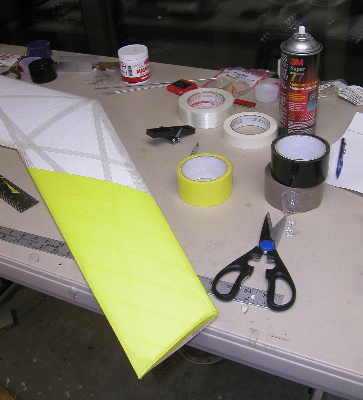
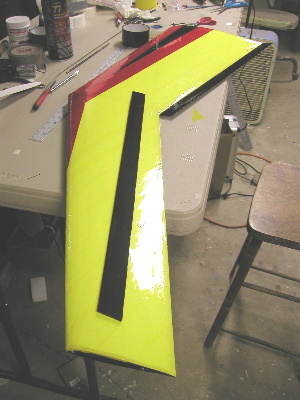
Now for the fun part... adding some color! For this proto, I will use packing tape. | |
Here is the completed covering on the top. | |
Now I mount the ailerons and flaps using hinge tape. |
|
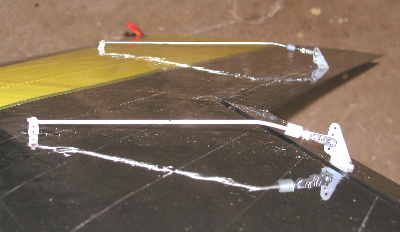
Next I mount the control rods and horns. | |
Ready for the maiden flight... I may change the tail so I didn't cover the fuse & tail Yet. | |
Top view... wonder how it's gonna fly!?? |
Flight Report 11/12/03:
OK, in short the big bird tail did not work, it had WAY too much pitch authority, so I made a quickie conventional coroplast tail.
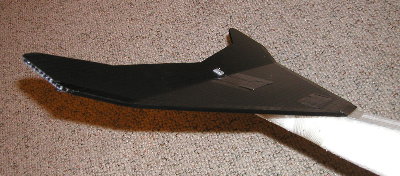 |
Top view - I didn't even bother to taper the trailing edge for the next maiden flight. | 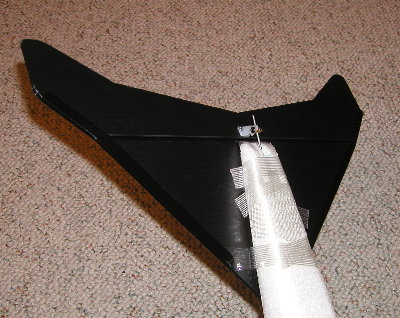 |
The tail was slotted in several places and strapping tape used to hold it on through the slots. EZ and secure. | 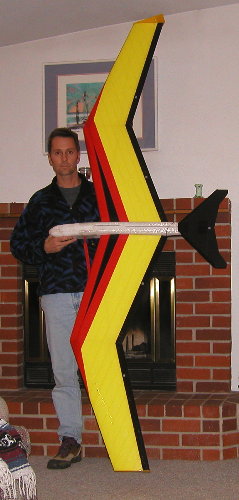 |
Here we go again... test flight when weather permits! |
Test Flight 11/16/03
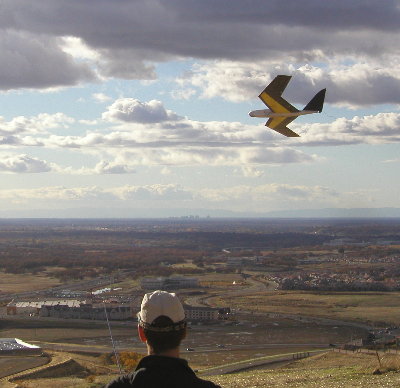
Well the new tail did OK but is still SUPER sensitive to pitch... but manageable. Man does this thing FLOAT?! Every time I gave it some up to flare the landing it would just pop up and keep going! This should be a nice slow stable platform to anchor my wireless video stuff to! Probably the one thing I need to work on is yaw control. I think the winglets are too close to the yaw axis and do very little. A large V tail will probably be needed to overcome the yaw issues of this lumbering wing! Now that I have the CG pegged I may just try the flying wing configuration and add a vertical fin... the experiment continues!
UPDATE:
Hummmmm.... Well, I tried a V tail and that worked a bit better, but pitch is still a problem,
so after many flights with a V tail I went with a single rear fin/rudder set-up. Then i switched to
elevon control/flying wing configuration. I use only the inner "flaps" for pitch control and couple
the ailerons and flaps for turning. I mix in a little rudder with the ailerons
and it turns beautifully... I also have it set up for crow mixing which works well much
to my amazement!
 |
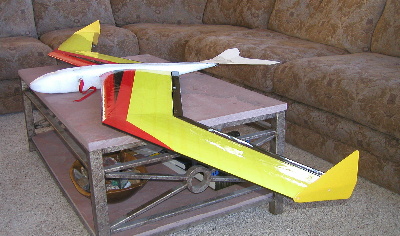
I've added a new V tail and eliminated the bird like horizontal tail. | 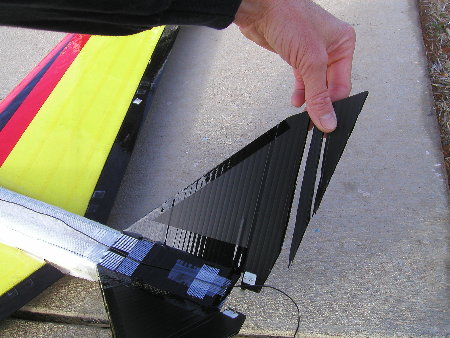 |
I had to keep chopping the "ruddervators" smaller and smaller as pitch was still too sensitive. | 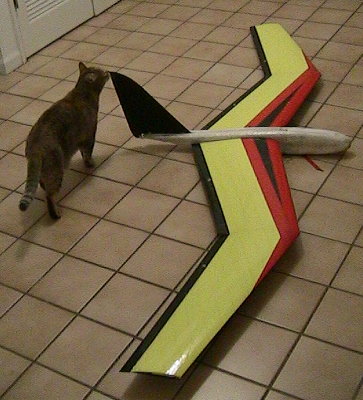 |
Ah... the key: A simple vertical fin with rudder. |  |
Ummmm.... nice: Crow mixing! |
Oh, I do eventually plan to motorize this thing.When I do, it will be a rather spunky brushless set-up!
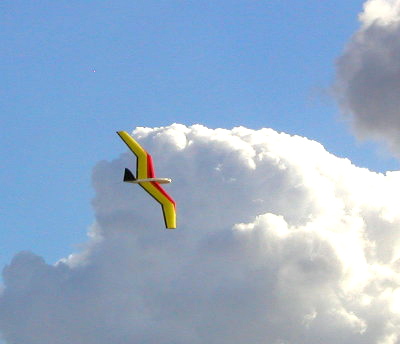
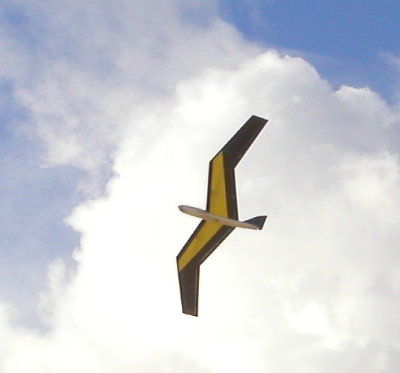
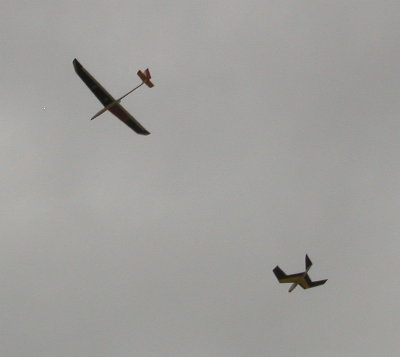
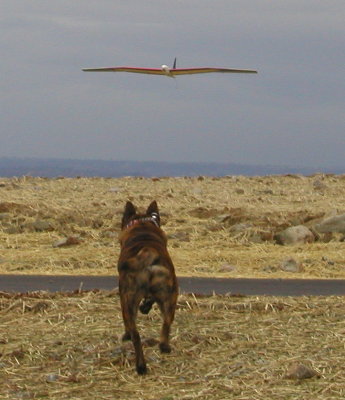
Below are some flight photos... what a mellow flying plane!
 |
 |
 |
 |
 |
 |
